

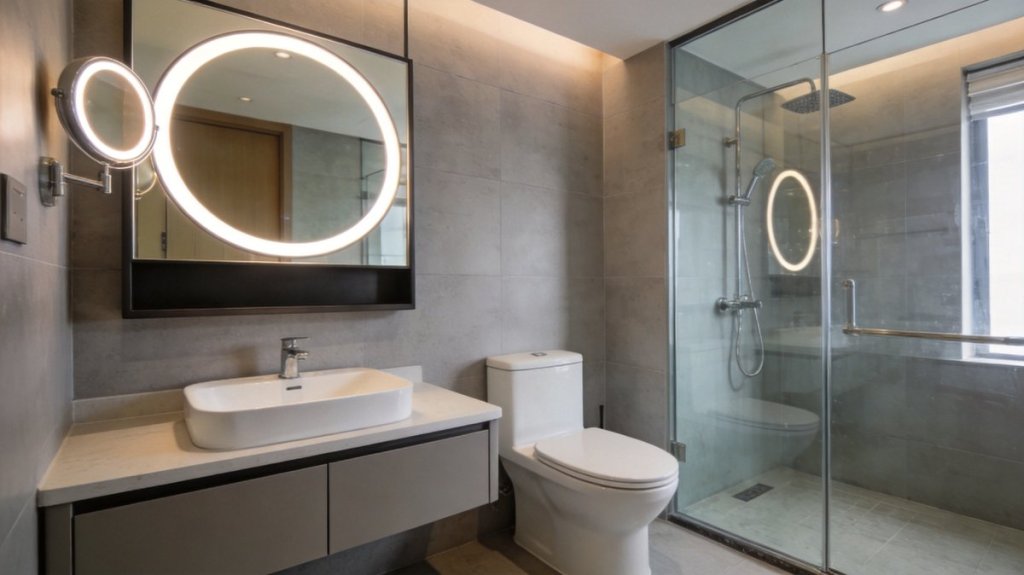
A hotel, apartment, villa or residential development may use similar bathroom products, but it should not use the same procurement brief. Occupancy pattern, room repetition, cleaning, replacement strategy and approval responsibility change the product scope. This guide shows how to convert a project schedule into a package that suppliers can quote and the site team can verify.
Begin with room types and decision ownership
Start with a room-type register rather than a product wish list. Give each bathroom type a stable code and record the number of rooms, design status and responsible approver. A hotel may have standard king, twin, accessible and suite bathrooms. An apartment development may vary by unit mix. A villa programme may repeat a few core layouts but allow finish options. Those differences affect quantities, shop drawings and sample priorities.
Identify who approves design, technical coordination, commercial terms and site installation. The interior designer may select a finish, while the plumbing consultant checks basin and waste positions and the operator reviews cleaning access. If these reviews happen independently, late changes can invalidate an otherwise approved sample.
Use a project scope matrix
| Project type | Primary scope driver | Questions to resolve early |
|---|---|---|
| Hotel | Repeated rooms and operator maintenance | How will cleaning, service access and future replacements work? |
| Rental apartment | Durability across changing occupants | Which finishes and components are practical to repair or replace? |
| For-sale apartment | Unit mix and buyer-facing specification | Which features are standard, optional or tied to a unit type? |
| Villa | Room-by-room design variation | Which elements can share a technical platform despite visual differences? |
| Residential programme | Budget, local installation and handover | Who measures, approves, receives and resolves site variations? |
Translate the design into a room schedule
The room schedule should identify every product included in each bathroom type: vanity, countertop, basin, mirror or mirror cabinet, accessory, spare part and any required fixing or electrical component. Record dimensions, finish, quantity per room and total quantity. Keep “by supplier” and “by others” columns so that taps, wastes, sealants or mounting hardware do not fall into a gap between packages.
Link the schedule to drawings. A supplier needs plans and elevations showing finished dimensions, door swings, wall build-up, plumbing points, electrical locations and adjacent fixtures. Mark drawing revisions clearly. If the design is still developing, label assumptions in the RFQ rather than presenting provisional information as final.
Scope vanities as installed systems
A vanity quotation should state more than cabinet width and colour. Confirm the cabinet construction, finish reference, countertop, basin, tap-hole and waste assumptions, hardware, internal cut-outs, mounting method and included accessories. Finished wall dimensions and tolerances matter when a top sits between two walls. Wall-hung units require the project team to confirm suitable wall reinforcement and fixing responsibility.
Coordinate plumbing with drawers and shelves. Request an internal drawing that shows the available service zone, and compare it with actual waste and water locations. For a large repeat programme, a single unresolved pipe conflict can become a site-wide installation problem.
Scope mirrors with electrical and lighting inputs
A mirror schedule should include external size, glass treatment, lighting arrangement, colour temperature, switching or sensor method, anti-fog or other selected functions, electrical configuration, cable exit, mounting and required labels. Decorative intent is only one part of the decision. The electrical consultant or local reviewer should confirm the installation method and destination requirements for the selected model.
Mirror width, vanity centreline and wall lighting must be coordinated on the elevation. For suites or shared bathrooms, decide whether controls should operate independently or integrate with the room’s lighting strategy. Explore available configurations through the LED mirror collection, then request model-level drawings rather than relying on category images.
Plan for operations and replacement
Hospitality and rental projects should involve the maintenance or operations team before approval. Ask how staff will reach traps, valves, drivers, mounting points and adjustable hardware. Review surfaces for routine cleaning and confirm care instructions. A complex texture or unusual finish may suit a show room but create an unnecessary operating burden across repeated rooms.
Define a spare-parts strategy based on components that can realistically be replaced. Record component codes where available, storage conditions and the responsible handover party. Spare quantity should reflect project risk and maintenance planning, not an unsupported universal percentage.
Separate standardization from visual variety
Standardization does not require every bathroom to look identical. A project can use common cabinet depths, drawer systems, basins, mounting logic and mirror electrical platforms while varying widths, finishes or front details. This reduces the number of technical interfaces the site team must manage.
Create a controlled option matrix. Each approved option should map to a room type and product code. Avoid open-ended wording such as “finish selected later”; late finish selection can affect substrate, lead time, sample approval, labels and packaging. Lock critical interfaces before cosmetic variations.
Use mock-ups to close the scope
A product sample confirms an item; a room mock-up confirms interfaces. Install the vanity, basin, tap, waste, mirror and adjacent fittings in the intended wall construction. Review finished heights, door and drawer movement, plumbing access, reflections, lighting, cleanability and visual alignment. Photograph the accepted condition and record every correction.
The mock-up record should identify drawing revisions and any approved deviations. Update the room schedule, shop drawings and purchase order before releasing the main quantity. Do not depend on annotated photos alone when a dimensional or component change is involved.
Match delivery planning to the site sequence
Project quantity does not automatically determine the best shipment plan. Review building handover, storage capacity, floor release, installation teams and risk of early-site damage. A phased plan may be useful when room types are released at different times, but it adds allocation and document complexity. A single shipment may simplify product consistency while placing more pressure on storage and receiving.
Ask for packaging information during quotation, including carton dimensions, weight and unit identification. Define whether products will be distributed by model, room type, floor or building. The receiving team needs a packing list and carton marks that match its actual unloading and allocation method.
Issue a decision-ready project RFQ
- Project country, building type and current design stage
- Room-type schedule with quantities and drawing references
- Product scope and clear exclusions for every package
- Finish, material, hardware and component requirements
- Plumbing, electrical, mounting and wall-construction inputs
- Sample, mock-up and approval workflow
- Packaging, labelling, delivery and receiving constraints
- Model-level destination documents identified by the local reviewer
Review ArcQuay’s project solution framework and bathroom product catalogue to organize a preliminary schedule. When room types, drawings and responsibilities are clear, send the project brief for quotation.