
Controlled dimensions
Record overall size, basin or top dimensions, clearances, internal storage and fixing locations. Keep nominal merchandising sizes separate from exact product data.

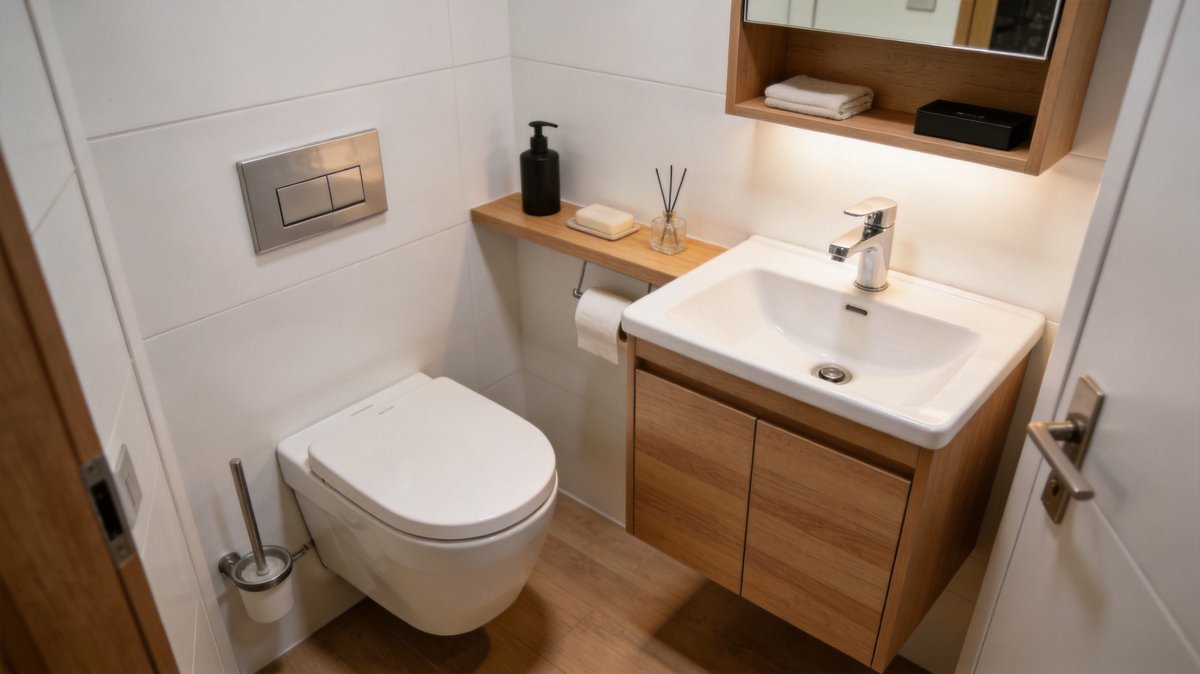
Organise vanities, mirror cabinets, basins and laundry storage by unit type—then manage dimensions, approved finishes, repeatable quality, apartment labels and staged delivery through one controlled schedule.
Apartment and multifamily projects multiply small inconsistencies. A basin opening, plumbing zone, drawer clearance or colour interpretation that is unresolved in one mock-up can become a repeated site problem. Product selection therefore needs to start with unit types, bathroom types and exact installation interfaces—not only a total unit count.
ArcQuay can review bathroom furniture and related products against the buyer's schedule, drawings and destination. The project designer and contractor remain responsible for site dimensions, services, structural support, accessibility and installation approval.
A well-controlled programme reduces ambiguity by giving every apartment type an approved product code, drawing, finish and packing reference.
Browse relevant categories, then confirm exact models, finishes, configuration and available documents in the project quotation and sample process.
Use stable unit and room codes across architectural drawings, quotations, samples, purchase orders, inspections, carton labels and site records.
| Schedule level | What to define | Why it matters |
|---|---|---|
| Building or phase | Release group, delivery window, storage route and quantity summary | Keeps commercial releases aligned with site sequence |
| Apartment type | One-bed, two-bed, accessible or other controlled type reference | Prevents one total quantity from hiding configuration differences |
| Bathroom type | Main bathroom, ensuite, powder room or laundry reference | Links each room to its approved product set |
| Product model | Cabinet, basin, mirror, hardware, colour and accessory codes | Creates a traceable order and replacement reference |
| Site interface | Width, height, services, support, door swing and clearance information | Exposes fit and installation risks before repetition |
Value engineering should compare complete specifications and installation consequences. A lower unit price can be misleading if it changes interfaces, packaging or site work.
Record overall size, basin or top dimensions, clearances, internal storage and fixing locations. Keep nominal merchandising sizes separate from exact product data.
Review waste and water zones against drawers, shelves, traps and site rough-ins. The project team should approve final plumbing and service access.
Define the selected board or panel system, exposed edges, finish construction and moisture-prone areas. Avoid substituting generic labels for actual details.
Keep hinges, runners, handles and adjustment details tied to the approved model so inspection and future component identification use the same reference.
Approve colour, texture and sheen using a signed reference. Record acceptable variation where natural or batch-sensitive materials are involved.
Check surface care guidance, access to traps and services, removable components and a practical route for identifying replacements after handover.
For LED mirrors or cabinets, define the selected size, features, controls, driver arrangement, installation method and destination electrical requirements.
Consider fragile tops, basins, mirrors, corner protection, accessories, carton strength, palletisation and handling from container to apartment.
The project schedule may change, but every release should identify which approved models, drawings, finishes and labels it uses.
List buildings, phases, apartment types, bathrooms and quantities with consistent references.
Match models to exact dimensions, storage needs, design direction and commercial position.
Close product, plumbing, electrical, support and clearance interfaces with the project team.
Check fit, appearance, operation, installation sequence and any changes before production release.
Confirm quantities, model revisions, finish references, inspection scope, artwork and carton data.
Organise agreed checks, building or floor labels, packing lists and shipment information.
When a project spans several releases, record changes explicitly. A prior order code does not automatically prove that materials, components or requirements remain unchanged.
State the drawing, model and finish revision on every release. Flag approved substitutions and the unit types affected by them.
Define visual, dimensional, assembly, functional and packing checks appropriate to each product and the agreed acceptance reference.
Compare ordered, packed and released quantities by building, apartment type and model before shipment handover.
Where agreed, use buyer-approved building, floor, apartment-type or room codes alongside the product and carton references.
The receiving team should plan unloading, dry storage, lifting, floor distribution and protection after installation for cabinets and fragile products.
Retain approved model codes, instructions made available for the order and agreed spare-component references for facilities or defect teams.
Share the destination, building and unit schedule, bathroom types, quantities, elevations or exact dimensions, finish references, target releases and required product categories.
Often a product direction can be developed across several widths or configurations, but every model still needs exact interface, finish, basin, hardware and quantity approval.
Record the unit and room type, drawing revision, product codes, finishes and comments. Convert accepted changes into updated documents before the affected production release.
Project-specific carton identification can be reviewed when the buyer supplies a stable coding structure and confirms the required data before packing artwork and order release.
Include quantities by unit and bathroom type, exact dimensions, target finishes, required products, destination and planned delivery stages.