

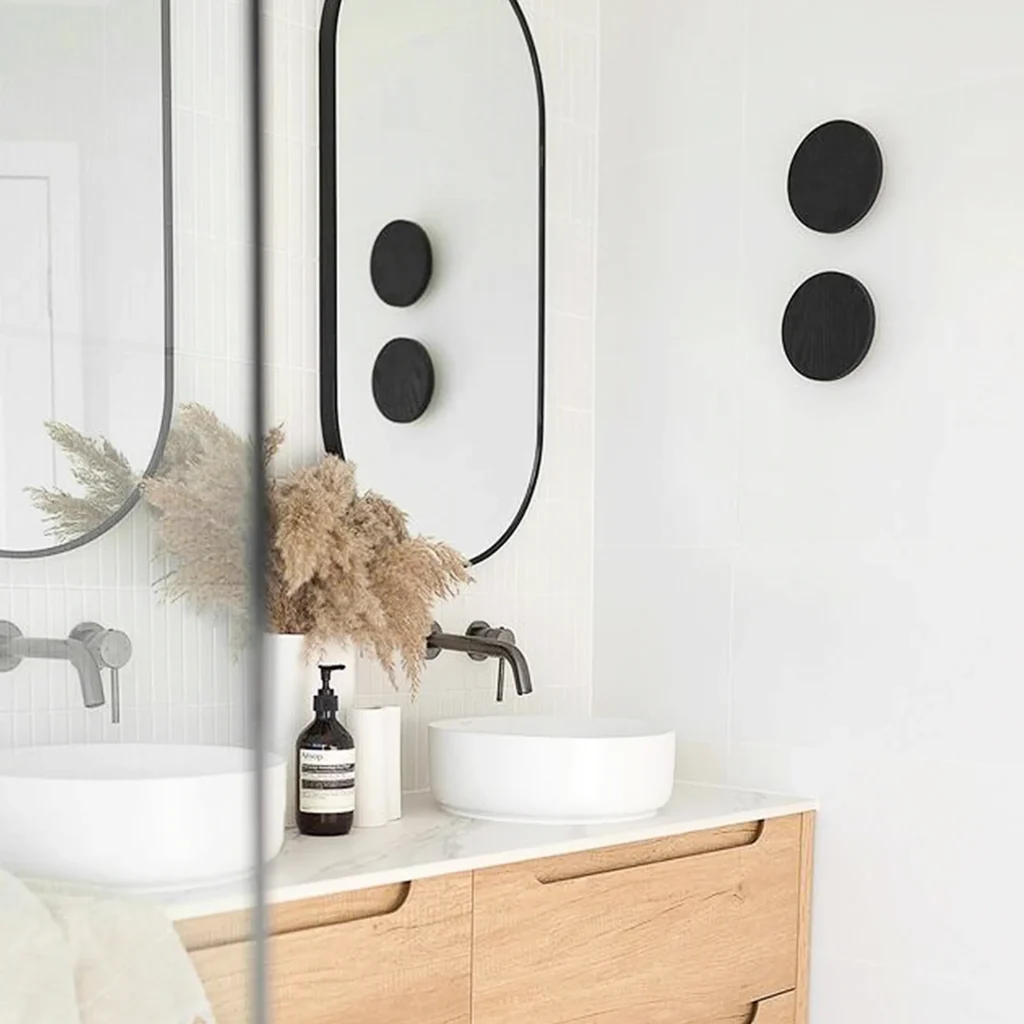
A bathroom vanity is often described by its width and finish, yet its daily value depends on how well the interior supports the user. Two cabinets with the same external dimensions can create very different experiences once plumbing, drawer construction, doors and stored items are considered.
Storage planning starts with routines rather than compartments. It asks what people reach for, where they stand, which items should remain dry or visible, and how the cabinet must coexist with water and waste services. These decisions can then be translated into a drawing that a supplier can sample and a buyer can inspect.
Map the user journey
List the activities performed at the vanity: hand washing, dental care, grooming, skin care, shaving, makeup, cleaning and replenishment. Identify typical items for the intended user group, not an idealized empty bathroom. A family bathroom, hotel guest room and compact apartment need different priorities.
Sort items by frequency. Daily items should be accessible without moving several other objects. Occasional stock can sit deeper or lower. Cleaning products may need separation from personal-care items, subject to the project’s safety and housekeeping requirements.
Measure usable space, not just cabinet volume
External width does not equal usable width. Side panels, drawer runners, hinges, internal dividers and service clearances reduce storage. A basin and trap can remove the central zone, while wall plumbing may constrain drawer depth.
Ask for internal dimensions on the shop drawing. Show clear drawer width, depth and height, shelf positions and door opening. Mark the plumbing exclusion zone and any removable or adjustable components. Comparing usable dimensions makes different configurations more meaningful than comparing litre claims that may use different methods.
Choose doors, drawers or a hybrid
Doors can provide flexible access to tall or irregular items, but content at the back may be harder to reach. Drawers bring contents forward and can separate layers, but they require clearance around plumbing and consume space in runners and construction. A hybrid can combine a shallow top drawer, deeper lower drawer or side cupboard.
Base the choice on room movement as well. A wide door can conflict with a toilet, shower screen or circulation path. A drawer needs space in front for full access. Mark open positions on the room plan rather than evaluating the cabinet in isolation.
Design around plumbing deliberately
Obtain the intended basin, waste and service information before freezing storage. Use a coordinated section to show basin depth, waste location, trap envelope, wall connections and drawer backs. Do not assume that a generic U-shaped cut-out will suit every installation.
Where the project allows, early coordination of wall services may preserve useful storage. That decision belongs with qualified plumbing and project professionals. The vanity drawing should document the agreed zone rather than encouraging installers to cut the cabinet unpredictably on site.
Compare vanity formats with basin formats to understand how different assemblies affect the internal envelope.
Create zones by frequency and item type
| Storage zone | Typical role | Questions to resolve |
|---|---|---|
| Immediate reach | Small daily-use items | Can users see and retrieve items without searching? |
| Deep storage | Towels, refills or taller containers | Are height and access appropriate? |
| Service zone | Plumbing and inspection access | Can services be reached without destructive work? |
| Separated zone | Cleaning or specialist items | Does the project require containment or restricted access? |
| Shared zone | Items used by more than one person | Does the layout prevent one user blocking another? |
These are planning roles, not universal prescriptions. The buyer should adapt them to user research, room type and local safety practice.
Use organizers only when they solve a defined problem
Fixed dividers can keep small items orderly but may prevent future use of larger products. Removable trays and adjustable dividers offer flexibility but need dimensional control and a secure fit. Before adding an organizer, list the items it serves and check cleaning access.
Prototype organizers with simple mock-ups before creating tooling or committing an assortment. A cardboard layout can reveal whether compartments are too small, too deep or hidden by the drawer above.
Consider shared bathrooms
Double-sink vanities do not automatically create equal storage. Two basin and plumbing zones can reduce the centre, while symmetrical fronts may conceal different internal volumes. Decide whether storage should be divided by user, activity or item type.
For hotel or multifamily use, consider housekeeping access, replacement items and the likelihood of guests leaving objects near moving parts. For accessible rooms, storage and controls should be coordinated with the project’s qualified accessibility professionals; a standard vanity layout should not be assumed compliant.
Coordinate the mirror storage layer
A mirror cabinet can move frequently used small items to eye level and free vanity drawers for larger objects. It also introduces wall depth, door movement, shelves, electrical routing and mounting considerations. Show open doors on the elevation and check conflict with side walls, lights and taps.
Review mirror cabinet options separately from flat mirror options. The right combination depends on room depth, services and the user’s storage plan.
Plan for visibility and cleaning
Dark, very deep compartments can hide small items. Internal finish contrast, drawer extension and compartment height influence visibility. Test with representative contents and realistic room lighting.
Review whether users can wipe surfaces, remove trays and reach corners. Avoid unverified hygiene or antimicrobial claims. If a material or coating has a specific cleaning limitation, record the manufacturer’s model-level care guidance and communicate it at handover.
Prototype the routine, not just the appearance
Set up the sample at the intended height and load it with representative items. Ask test users to perform routine tasks. Observe reach, blocked views, collisions, awkward bending, item migration and whether plumbing consumes more space than the drawing suggested.
Record findings and turn them into drawing changes. If the sample uses temporary plumbing or hardware, label those limitations so the team does not approve an unrealistic amount of usable space.
Specify storage so it can be inspected
The final schedule should define internal dimensions, drawer or door configuration, shelves, organizers, hardware, service cut-outs and included accessories. Connect each feature to a drawing revision. Identify critical checks such as clearance, alignment, opening, removable-part fit and service access.
Do not allow a catalogue phrase such as “large capacity” to become the approval criterion. Measurable geometry and a reviewed sample make storage repeatable.
Build a focused product brief
Start with the room, user group, basin choice, service zone and list of stored items. Then shortlist appropriate products through the ArcQuay product centre. To review a project or range configuration, send dimensions, drawings, quantities, destination and storage priorities. A useful interior begins with evidence about use, not with the number of compartments.