
Model selection
Use a live catalogue model as the baseline where it fits the brief. Record the product link and code so all parties can see which construction and layout are being discussed.

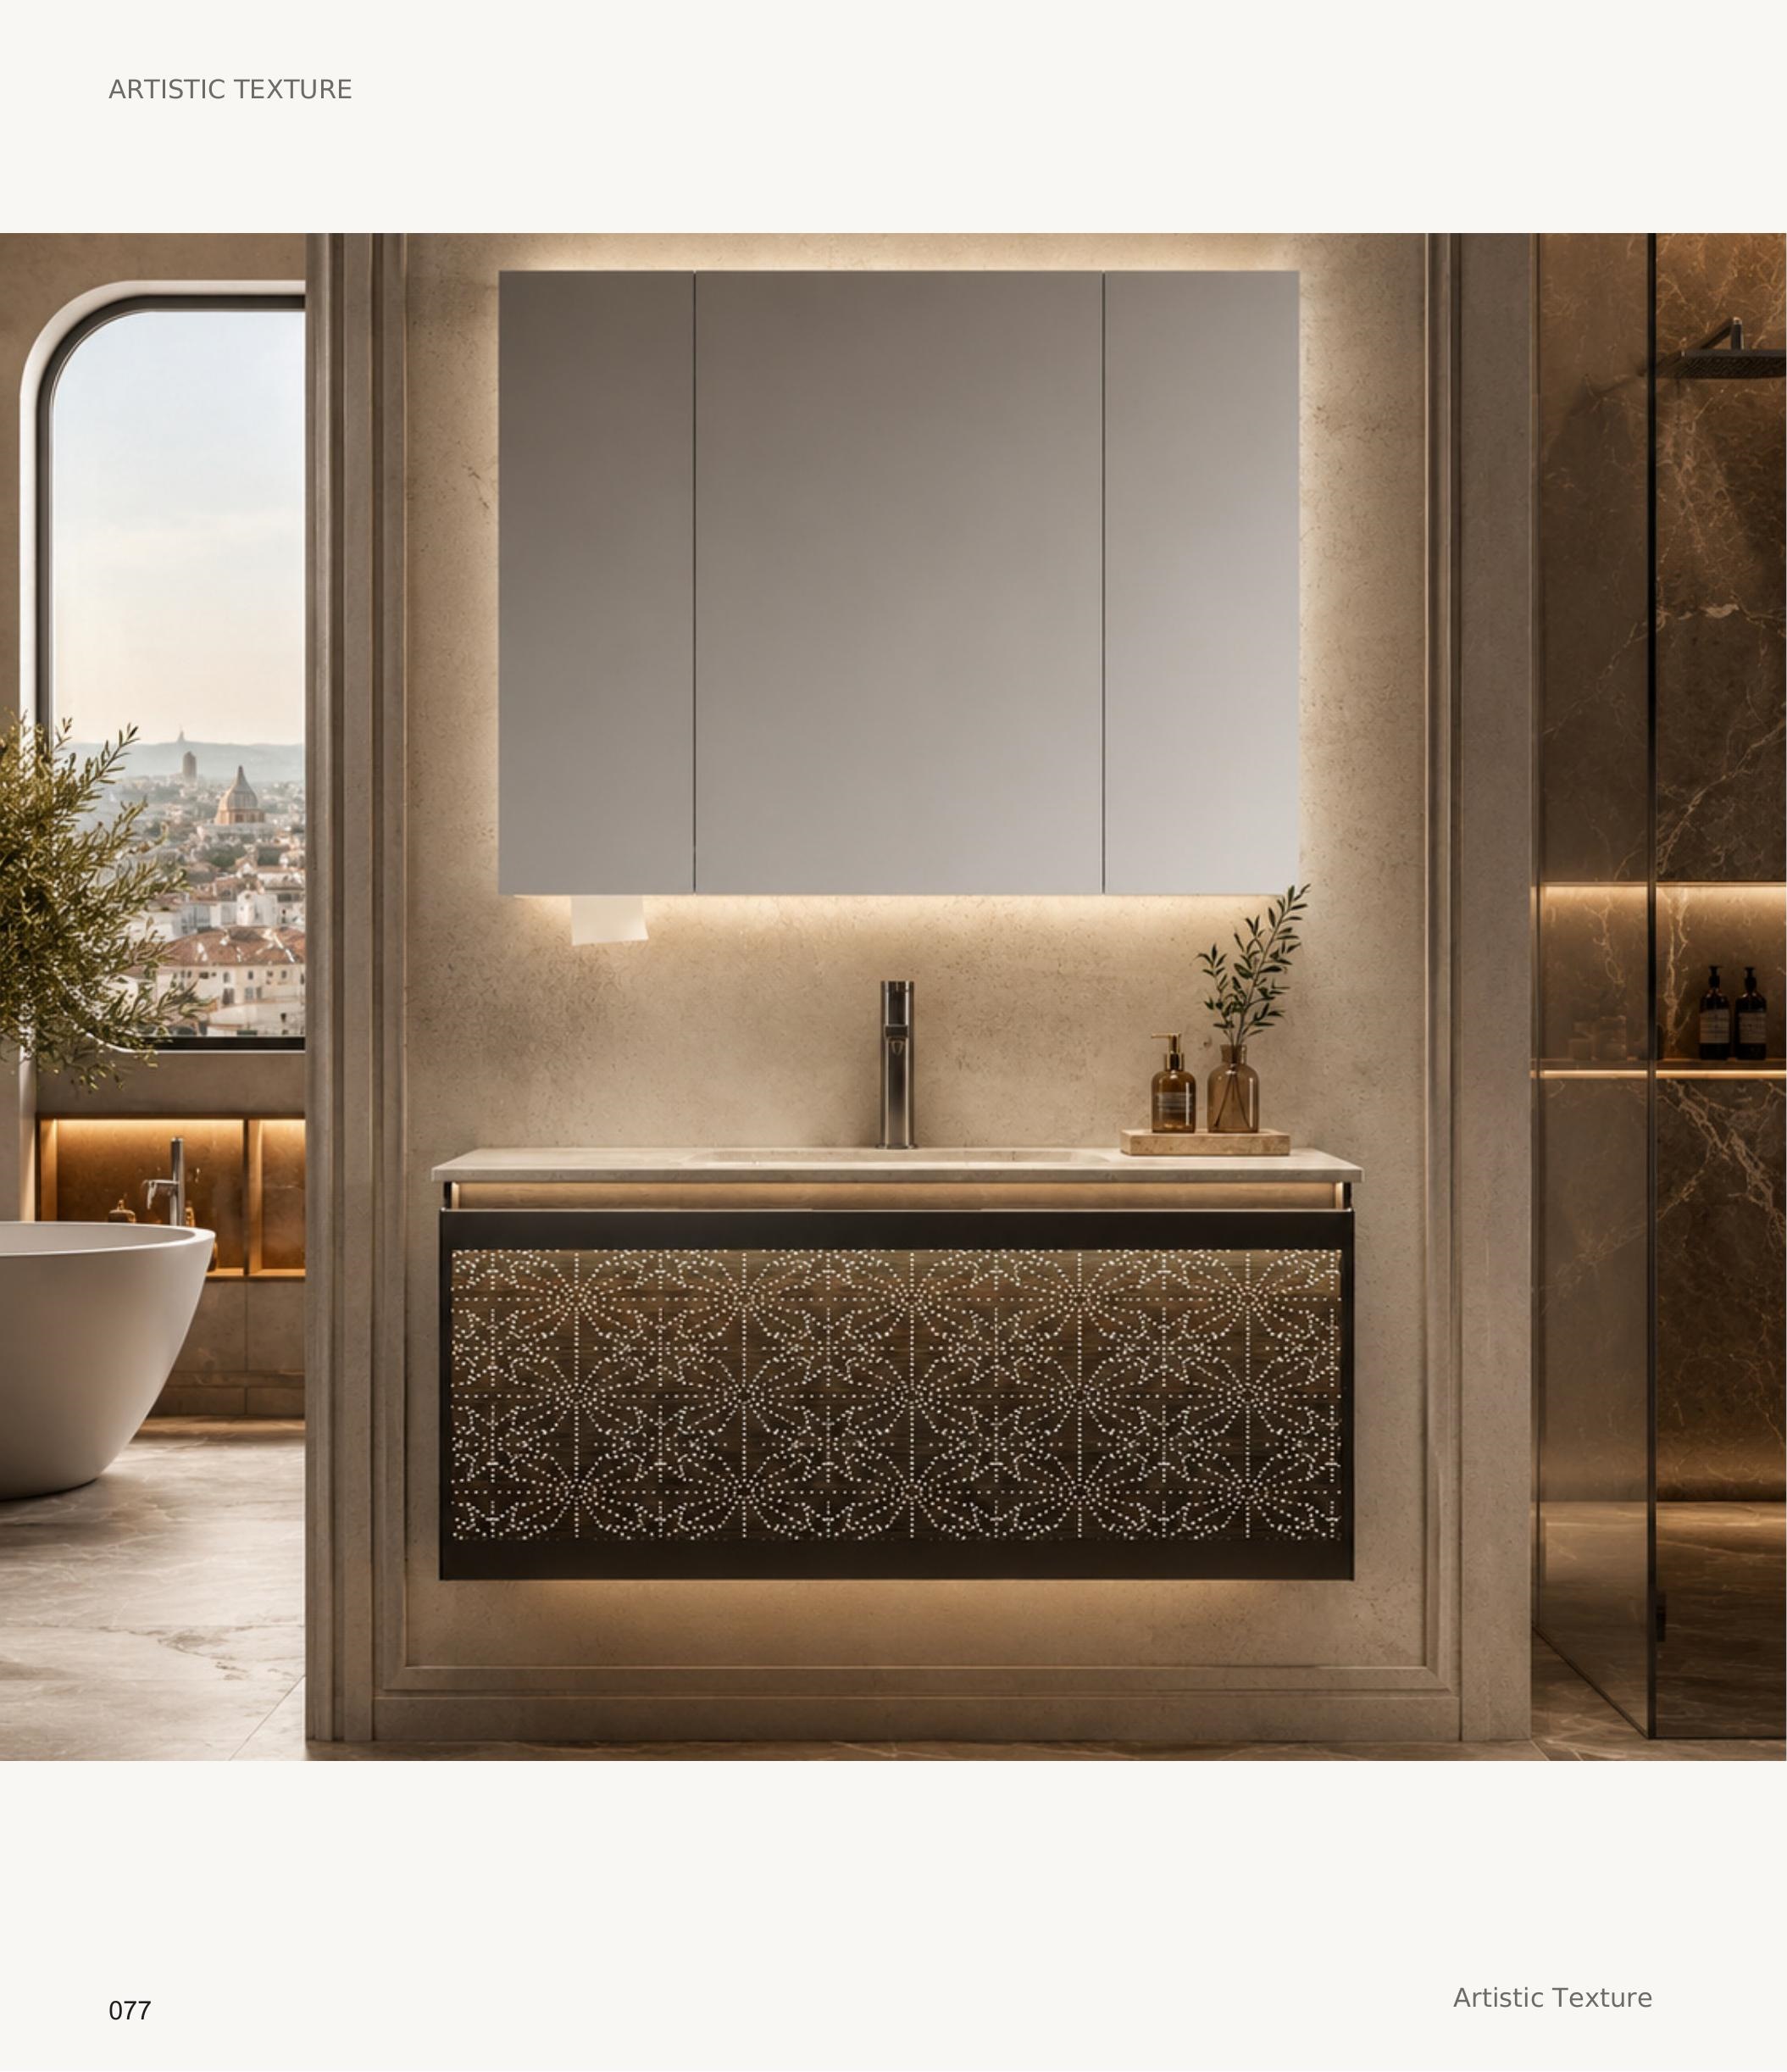
Translate room schedules, elevations and finish references into a controlled vanity specification. Start from live product platforms where practical, document every requested change, and verify dimensions, installation interfaces and model-level evidence before release.
Content owner: ArcQuay Product & Project Team ·
“Custom vanity” can mean a new width, finish, top, basin position, hardware choice or complete construction change. Each level carries different feasibility, sampling and commercial implications, so the first task is to define what is standard and what is requested.
Use a live catalogue model as the baseline where it fits the brief. Record the product link and code so all parties can see which construction and layout are being discussed.
Mark overall width, height and depth plus drawer, door, basin and plumbing implications. A single changed dimension can affect several internal components.
Supply the desired colour, grain, sheen and handle references. Feasibility and quantity conditions are checked for the exact finish route, then controlled by an approved sample.
If the vanity includes a top, basin, mirror, outlet or tapware, list every component separately. Interfaces and Australian obligations are reviewed by product and configuration.
A builder schedule often combines furniture, mirrored storage and basins. Shortlist each category independently, then verify their dimensions and service relationships on the room elevation.
The first review should make assumptions visible. Send current drawings and identify which information is final, provisional or still awaiting consultant approval.
A cabinet, basin, tap, waste, illuminated mirror and power outlet can follow different Australian requirements. Review the exact supply scope with the importer, responsible supplier, building consultant and licensed trades.
Confirm materials, weight, fixing points, wall support, wet-area location, clearances and care information. The builder and installer assess suitability for the actual substrate and room.
Identify basin, tap, waste and other plumbing product codes separately. Where applicable, the importer or project team checks the exact product against current WaterMark requirements and listings.
For illuminated mirrors, cabinets or integrated outlets, request ratings, labels, instructions and available evidence for the ordered configuration. Local electrical obligations and installation are confirmed in Australia.
The sequence can be adapted to project scale, but production should rely on a closed specification rather than an inspiration image or unmarked drawing.
Review room types, quantities, destination, scope and decision dates.
Choose relevant live models and list requested changes.
Resolve dimensions, services, clearances and component interfaces.
Confirm samples, finish codes, documents and accepted variation.
Use approved revisions for quantity, checkpoints, labels and packing.
Review agreed inspection records and shipping documentation.
Drawings are a useful start. Add a room schedule, quantities, destination, target dates, preferred live product references and a clear list of required changes so assumptions can be identified.
After the model, changes, finish route, quantity, sampling, documentation and packing scope are understood. Use project target dates in the brief, then agree a working schedule for the approved specification.
No blanket statement should be inferred. The exact furniture, plumbing and electrical components need separate identification, and the Australian importer and project professionals confirm which current requirements apply.
ArcQuay can organise a model, feasibility and information review once the baseline products and Australian project interfaces are clear.